Learning The Art Of Owl Drawing - A Gentle Guide
Have you ever felt a little spark of creative interest when you see a picture of a wise old owl, or perhaps a sweet, fluffy one? Getting started with an owl drawing can be a really fun way to explore your artistic side, no matter your current skill level. It's a chance to put pencil to paper and see what wonderful feathered creatures you can bring to life, so it's almost a very accessible activity for anyone.
These fascinating birds, with their big, curious looking eyes and soft, downy bodies, tend to be both smart and just plain cute, making them truly enjoyable subjects for sketching. There are so many kinds of owls out there, apparently over 200 different species across almost every part of the world, which means a huge variety of shapes and looks for your owl drawing inspiration. Whether you are aiming for something simple and sweet or something that looks very real, there is a way to approach it that will feel comfortable for you, you know?
This little guide gathers together some simple thoughts and playful ideas for creating your very own owl drawing. We will talk about building your picture with basic shapes, adding those important lines, and putting in the little bits of detail that make your creation special. You will discover how to play with different looks, from a sleepy little owl to one that seems to be looking right at you, and how to use various art supplies to make your work pop. It's really all about having a good time with it, basically.
Table of Contents
- The Joy of Creating an Owl Drawing
- What Makes an Owl Drawing So Appealing?
- Getting Started - Your First Owl Drawing
- How Do You Give Your Owl Drawing Personality?
- Exploring Different Styles for Your Owl Drawing
- Are There Special Techniques for Realistic Owl Drawing?
- Adding Finishing Touches to Your Owl Drawing
- Drawing Owls - A Wonderful Activity for Everyone
The Joy of Creating an Owl Drawing
There is a special kind of delight that comes from seeing a blank page slowly become something recognizable, especially when that something is an owl drawing. You get to use simple building shapes, connect them with lines, and then fill in the tiny parts that make your bird look like it could fly right off the paper. From an owl that looks like it is ready for a nap to one that is quite lifelike, or even a very blocky or playful one, these drawing activities are just right for practicing how shapes work, how light and shadow fall, and how to let your imagination run free. It is, in some respects, a very calming and satisfying pursuit.
Imagine making a sweet, bright owl with fun patterns and designs; it is really pretty simple to do. We will walk you through easy steps, and you can make your owl truly yours by using different art things and colors. Maybe you want to make a cartoon owl that makes people smile, or perhaps something that looks more like a photograph. There are straightforward instructions and even guides you can print out to help you along. Once you are done, you can add color to your owl drawings and enjoy this nice project, perhaps as the leaves start to change colors outside, you know?
The fun part about making an easy owl drawing is that you will end up creating all sorts of enclosed shapes, which are the basic building blocks. It is a good way to get comfortable with your drawing tools and see how simple forms can come together to make something quite charming. You might find yourself just playing with lines and curves, seeing what kind of feathered friend appears on your page. This gentle process makes the whole thing feel less like a chore and more like a creative play session, which is what art should be, really.
- Happy Sunday Images
- Yankees Vs San Francisco Giants Match Player Stats
- X Movie Cast
- What Does Taco Trump Mean
- Crumbl Tuscaloosa Reviews
What Makes an Owl Drawing So Appealing?
So, why do people find an owl drawing so captivating? Perhaps it is their big, wide eyes that seem to hold a lot of secrets, or maybe it is the quiet way they move through the night. Owls tend to represent a bit of wisdom and a lot of charm, making them excellent subjects for anyone picking up a pencil. They offer a unique mix of features that are both easy to simplify for a beginner and complex enough for someone wanting to create something with a lot of depth. It is kind of like they have a universal appeal, if that makes sense.
Their soft, fluffy bodies and unique facial features give artists a lot to work with. You can make an owl drawing look really cute and round, or you can focus on the sharp edges of their feathers and the serious look in their gaze. There is such a variety in their appearance across the different species, from the tiny elf owl to the large great horned owl, that you will never run out of ideas for how your next drawing might look. This diversity just adds to their appeal, giving you endless possibilities for your creative work, you know?
Moreover, the act of creating an owl drawing can be a very calming activity. It allows you to focus on the lines and shapes, to lose yourself a little in the process of bringing a creature to life on paper. For many, it is a way to relax and express themselves without needing a lot of fancy equipment or prior experience. This accessible and soothing aspect certainly makes the subject of owls, and the act of drawing them, very attractive to a wide range of people, which is quite nice.
Getting Started - Your First Owl Drawing
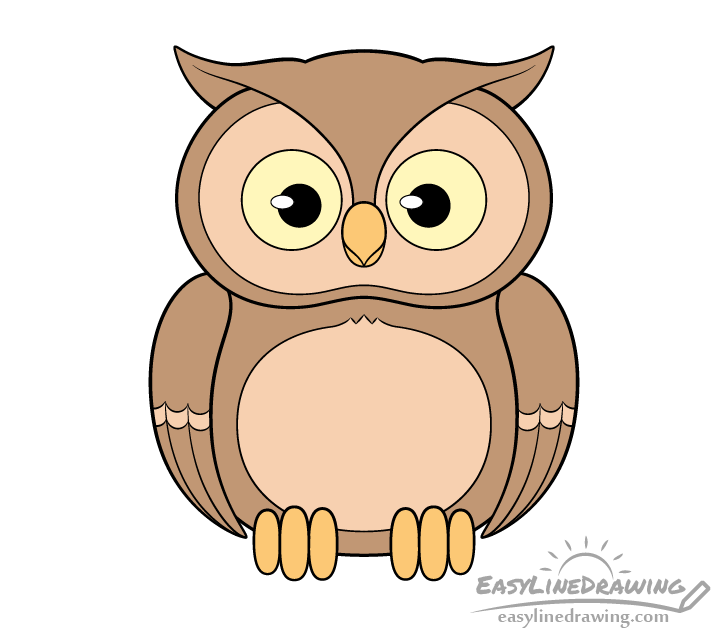
When you begin your first owl drawing, it is often helpful to think about simple shapes first. You might start with a big oval for the body and a smaller circle for the head. These basic forms act as your starting points, helping you to get the overall size and position just right on your paper. Don't worry too much about perfection at this stage; these are just guides, like a very light sketch that you can easily change later. This initial step is really about getting the main structure down, you know?
Once you have your basic shapes, you can then start to connect them and shape them into something that looks more like an owl. Think about where the wings might attach, or how the head joins the body. You are basically building your owl drawing piece by piece, much like putting together a simple puzzle. It is a step-by-step process that helps break down something that might seem a little tricky into smaller, more manageable parts. This way, it feels much less intimidating, which is pretty important when you are learning something new.
Remember, the goal here is to have fun and get comfortable with the process. There is no single "right" way to start an owl drawing, and everyone's approach will be a little different. Just pick up your pencil, make some light marks, and see where your hand takes you. The beauty of drawing is that you can always adjust and refine as you go, so don't be afraid to experiment a little, you know? It's all part of the creative adventure.
How Do You Give Your Owl Drawing Personality?
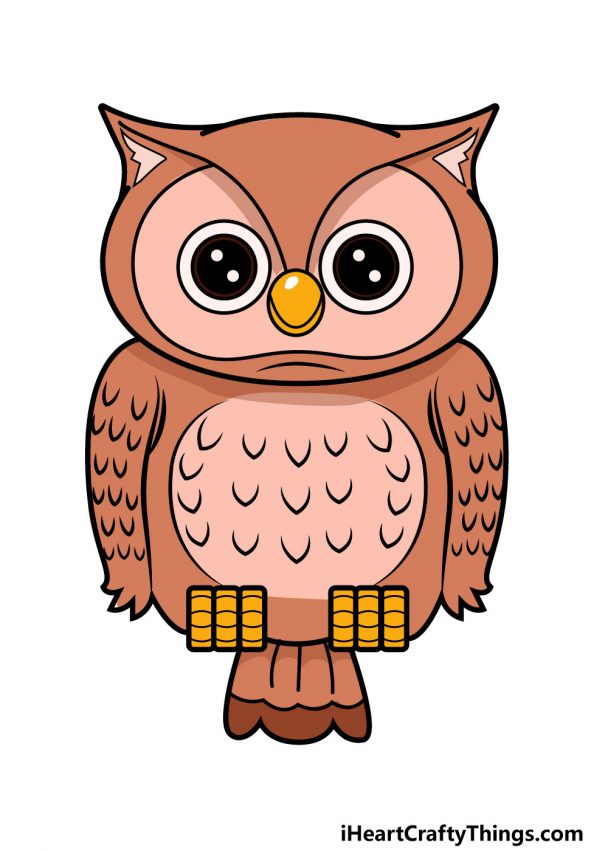
Giving your owl drawing a bit of personality really comes down to the smaller features, especially the eyes. You can sketch the details of the owl’s head, thinking about where the chin, beak, eyes, and ears will sit. These parts are where your owl will truly start to show its own character. For instance, the eyes are incredibly expressive. You can have a serious looking owl by drawing the center part of its eyes, the pupils, looking straight ahead. This tends to give them a very direct and thoughtful gaze, you know?
If you want your owl drawing to appear as though it is looking at something off to the side, you can simply draw the pupils pointed left or right. This subtle shift can completely change the feeling of your drawing, making the owl seem curious, watchful, or even a little mischievous. Have some fun with the eyes, if you want; they are a key part of making your owl unique. Playing with their size and placement can also add a lot to the overall mood of your creation, which is actually quite interesting.
Beyond the eyes, the shape of the beak and the way you draw the little ear tufts (if your owl has them) can also add to its distinct look. Even the angle of the head or the way the feathers around the face are drawn can give hints about its mood. Whether you are aiming for a cute, plump owl, or perhaps one that fits a spooky theme, you can find a method that suits your own level of comfort and what you like. It's all about those little choices that build up to a complete picture, really.
Exploring Different Styles for Your Owl Drawing
When it comes to an owl drawing, you have a whole world of styles to explore, which is quite exciting. You could try making a very simple cartoon owl, which often uses basic shapes and clear lines to create a friendly and approachable look. These kinds of owls are fantastic for beginners or for anyone who just wants to create something lighthearted and fun. They often have exaggerated features, like really big eyes or a tiny beak, that make them seem very endearing, you know?
On the other hand, you might want to try a more whimsical owl drawing. This style lets you play with patterns, bright colors, and imaginative designs that might not be found on a real owl. Think about adding swirls, dots, or even tiny stars to its feathers, or giving it a little hat or a bow tie. This approach is all about letting your creativity flow freely and not being bound by what an owl "should" look like. It's a chance to really make your art unique and full of character, which is pretty cool.
Then there is the idea of a geometric owl drawing, where you use straight lines and sharp angles to build your owl. This can give your drawing a very modern and clean feel, almost like a piece of graphic design. Or, you could focus on a "sleepy" owl, with soft, closed eyes and a relaxed posture, conveying a sense of peace and calm. Each style offers a different way to express yourself and practice various drawing techniques, giving you plenty of options to keep your artistic journey interesting, basically.
Are There Special Techniques for Realistic Owl Drawing?
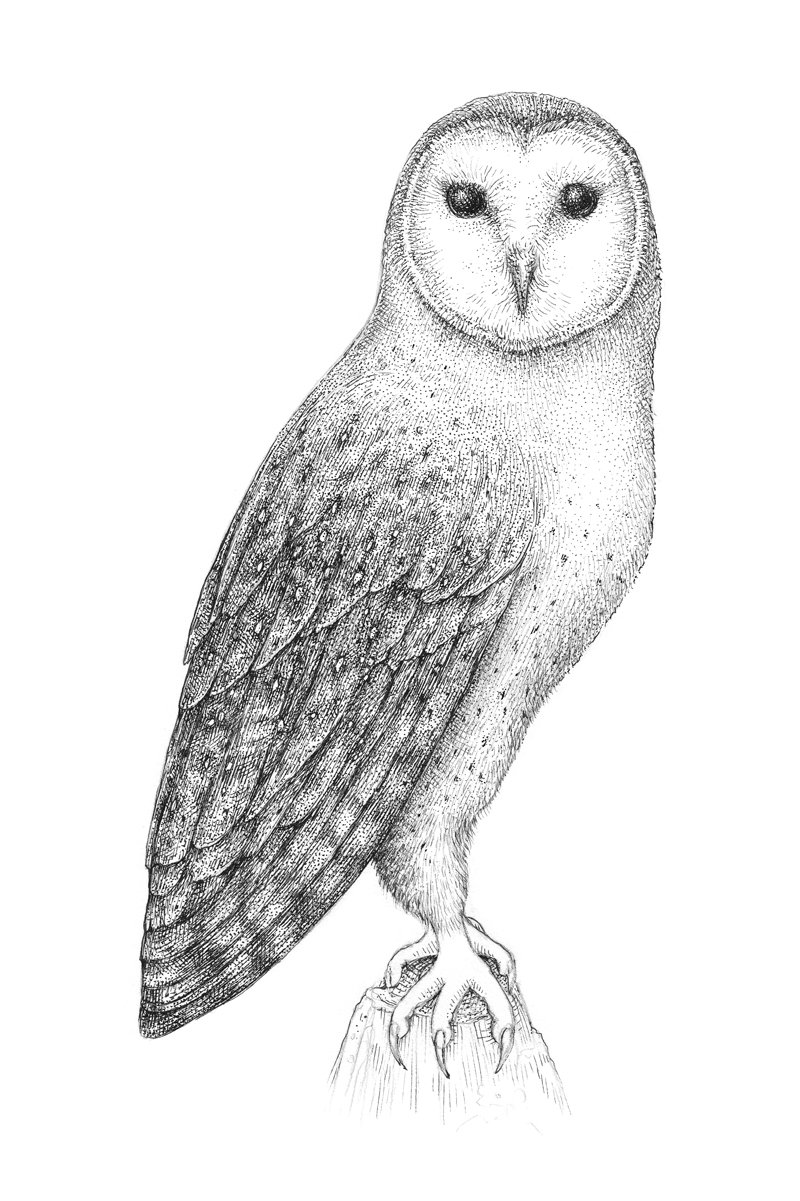
Creating a realistic owl drawing involves paying a bit more attention to the textures and the way light interacts with the feathers. For instance, to give the look of feathers on your owl's body, you can use some curved lines. These lines, when drawn close together and following the shape of the owl's form, can really suggest the softness and layering of its plumage. You can also use similar lines on the tail to make it appear more lifelike, which is a key detail, you know?
When drawing a realistic owl, remember that each kind of bird is a little different, from its color to its body structure and overall size. When it comes to drawing owls, not every owl is the same either. A barn owl, for example, has a very distinct heart-shaped face, while a great horned owl has prominent ear tufts. Observing these differences, even from pictures, can help you make your owl drawing feel more true to life. This careful observation is a very important part of making something look real, you know?
Consider the example of a drawing that shows a charming owl with big, round eyes perched on a branch, surrounded by glowing fireflies. The owl’s small beak and simple wings add to its friendly look, while the fireflies create a sort of magical feel with their gentle glow. To achieve something like this, you would focus on subtle shading to give the owl a rounded form, and perhaps use light touches to create the soft glow of the fireflies. It is about building up layers and paying attention to how light and shadow play on your subject, which is quite a process.
Adding Finishing Touches to Your Owl Drawing
Your owl drawing is very nearly finished now, but it just needs a few more little details to truly bring it to life. Between the wings, near their bottoms, you will want to add the feet. Draw them with three toes each, where the middle toe is the largest and the ones on the sides are slightly smaller. These small additions might seem minor, but they really ground your owl and make it feel complete, which is pretty important, you know?
Another important part of finishing your owl drawing is creating a clear outline. Making an owl outline is easy to do; you simply trace over your pencil lines with a black pen or marker. You can make your lines thin, thick, or a combination of the two, depending on the look you are going for. A thicker line can make your owl pop, while a thinner one can give it a more delicate feel. This step really defines your drawing and makes it stand out, basically.
If you are working with ink for your owl drawing, you will find that with some care and attention, ink lines can communicate a lot of expression and convey a certain mood. The way you make your lines, whether they are smooth or a bit scratchy, can add texture and character. Remember, drawing birds can be tricky because of all their unique features, but with owls, the process is very rewarding. It is all about those final touches that make your artwork truly shine, you know?
What Tools Can You Use for Your Owl Drawing?
When you are making an owl drawing, you have a lot of choices for what to use, which is quite nice. In many lessons, people use markers and colored pencils, but the best part is that you can use whatever you feel comfortable drawing with. If you like the smooth feel of crayons, go for it! If charcoal is more your thing, that works too. The most important thing is that you are enjoying the process and exploring what works for you, you know?
For outlining, a simple black pen or marker works wonders. You can experiment with different thicknesses of pens to see how they change the look of your owl drawing. Sometimes a fine-tipped pen is great for small details, while a broader one can give a strong, bold outline. This flexibility means you do not need a lot of special gear to get started, which is pretty convenient.
Remember, too, that art projects like creating an owl drawing are one of the best ways to spend time with your family, as well as to learn to try new things. You can gather everyone around the table, share your supplies, and create together. It is not just about the finished drawing; it is about the shared experience and the joy of making something with your own hands. So, grab whatever you have nearby and start creating your feathered friend, basically!
- Yankees Vs San Francisco Giants Match Player Stats
- Mainstreet Renewal
- Toy Shack Las Vegas
- Happy Sunday Images
- Ramen Recall
Owl Drawing - How To Draw An Owl Step By Step!
How to Draw an Owl Step by Step - EasyLineDrawing
How to Draw an Owl with Pen and Ink
