Painted Rocks - Your Guide To Creative Stone Art
There's something truly special about taking an ordinary, plain stone and turning it into a little piece of art. This very simple activity, so it's almost like magic, has captured the hearts of many people, whether they are looking for a calm way to spend some time or want to share a bit of joy with others. It's a way to mix nature's own simple beauty with whatever you feel like expressing through pictures and colors.
The whole idea of making rocks colorful is, in a way, about finding beauty in what's around us and giving it a fresh purpose. Instead of a big blank sheet of paper or a large piece of cloth to draw on, you get to work with the unique curves and edges of a stone. This naturally pushes you to think differently about your pictures and how they might fit a particular shape and size, which is pretty neat, don't you think? It's a humble start for something that can bring so much happiness.
From just making a little something to brighten your own home to leaving a small, colorful surprise for someone else to discover, putting designs on rocks is a wonderful way to be creative for people of all ages. This piece of writing will talk about how you can get started, where to look for your base materials, what things you might need, and lots of thoughts on what you can make. We will also look at some rather interesting ways these little stone artworks can be used, both for fun and for connecting with others.
Table of Contents
- What Makes Painted Rocks So Appealing?
- Getting Started with Your Painted Rocks
- How Can You Find Inspiration for Your Painted Rocks?
- Making Your Painted Rocks Last
- Beyond Decoration - What Else Can Painted Rocks Be Used For?
What Makes Painted Rocks So Appealing?
There is, apparently, a certain charm that comes with taking a simple, everyday stone and giving it a whole new look. It's not just about putting some color on a surface; it's about transforming something plain into a small piece of joy or a tiny message. People find it quite calming, actually, to sit and focus on these little projects. It offers a quiet break from the usual busy pace of life, providing a chance to just be in the moment with your thoughts and your hands.
For many, the appeal also comes from the idea of creating something with your own two hands that is, perhaps, meant to be shared. There's a whole community of people who enjoy hiding these colorful stones for others to discover, kind of like a treasure hunt for kindness. This adds a layer of connection to the activity that goes beyond just making something pretty. You're not just making art; you're making a moment for someone else, which is pretty cool, you know?
It is, moreover, an activity that doesn't ask for a lot of special skills to get started. Anyone can pick up a stone and some paint and begin. This low barrier to entry means more people can experience the satisfaction of making something creative. Whether you are a seasoned artist or someone who hasn't picked up a brush since school, these stones offer a friendly way to jump into a creative pursuit. The small scale of the work also means it's not a huge time commitment, making it accessible for nearly everyone.
Getting Started with Your Painted Rocks
So, you are thinking about trying your hand at making some colorful stones? That's great! Getting started is actually quite simple, and you probably have some of what you need already. The main thing, of course, is finding the right kind of stones to work on. The surface of the stone makes a big difference in how your colors will look and how easy it will be to put them on.
Finding the Right Stones for Your Painted Rocks
The very first step for your painted rocks project is to find some good stones. You are looking for ones that have a relatively smooth surface, as rough stones can be a bit tricky to put color on evenly. River banks are, in fact, often fantastic spots to look for these. The constant flow of water tends to make stones nice and smooth, giving you a wonderful base to work with. You might find a variety of shapes and sizes there, too.
Another place to go stone hunting for your painted rocks is in a nearby forest or a local park. Just remember to check if it's okay to take things from those places first, as some areas have rules about removing natural items. You are looking for stones that are not too crumbly and have a nice, flat-ish area where you can put your pictures. Finding these natural canvases is, basically, part of the fun, a little adventure before the creative work even begins.
Sometimes, you can even find suitable stones at garden supply stores or craft shops if you prefer not to search outdoors. These might be a bit more uniform in shape, which can be good if you have a specific idea in mind. No matter where you get them, a quick wash with water and soap will get rid of any dirt or dust, making them ready for your artistic touch. This simple preparation step is, you know, quite important for the color to stick well.
Supplies You'll Need for Your Painted Rocks
Once you have your stones, you'll need a few other items to bring your painted rocks to life. The most common choice for putting color on stones is acrylic paint. It sticks well to the surface and comes in so many different shades. You can get small tubes or bottles of it, and a basic set will give you plenty of options to start with. You don't need a huge collection of colors right away, just a few primary ones that you can mix to make others.
Besides the paint, you might want to get some paint markers. These are really good for adding small details or writing words on your painted rocks. They give you a lot of control, kind of like drawing with a pen, but with paint. They come in various tip sizes, so you can pick fine ones for tiny lines or thicker ones for filling in bigger areas. They are, actually, super handy for adding those finishing touches.
Finally, to protect your finished painted rocks, especially if they are going to be outside, you will need a sealant. This is a clear coat that goes over your artwork once it's dry. It helps keep the colors from fading and protects the paint from water and the elements. You can find spray sealants or brush-on ones, and either will work just fine. This step is, in some respects, what makes your hard work last a long time.
How Can You Find Inspiration for Your Painted Rocks?
Sometimes, the hardest part of any creative project is figuring out what to make. With painted rocks, there are, honestly, so many paths you can take. You might be wondering where to even begin to get ideas that truly speak to you or fit what you are trying to achieve. It’s all about looking at the world around you and thinking about what makes you smile or what message you want to share.
Creative Themes for Your Painted Rocks
There are countless thoughts on what you can put on your painted rocks, no matter how much experience you have with a brush. For folks just starting out, simple shapes like dots, stripes, or even just painting the whole stone one solid color as a base coat can be a great way to begin. You could, for example, try making a ladybug with just red and black paint, which is pretty straightforward and always looks cheerful.
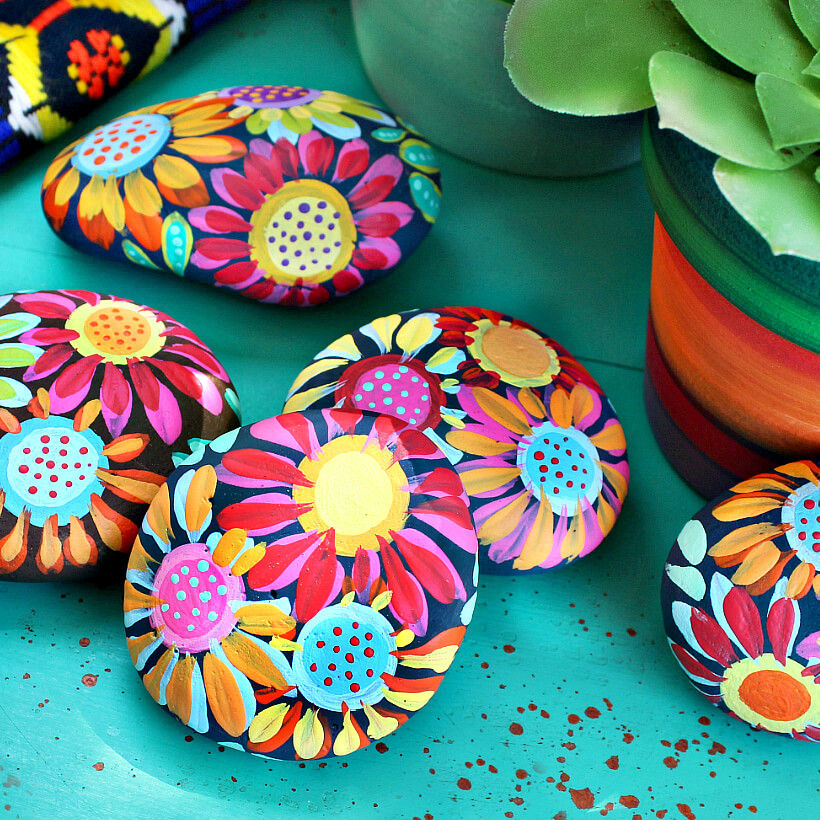
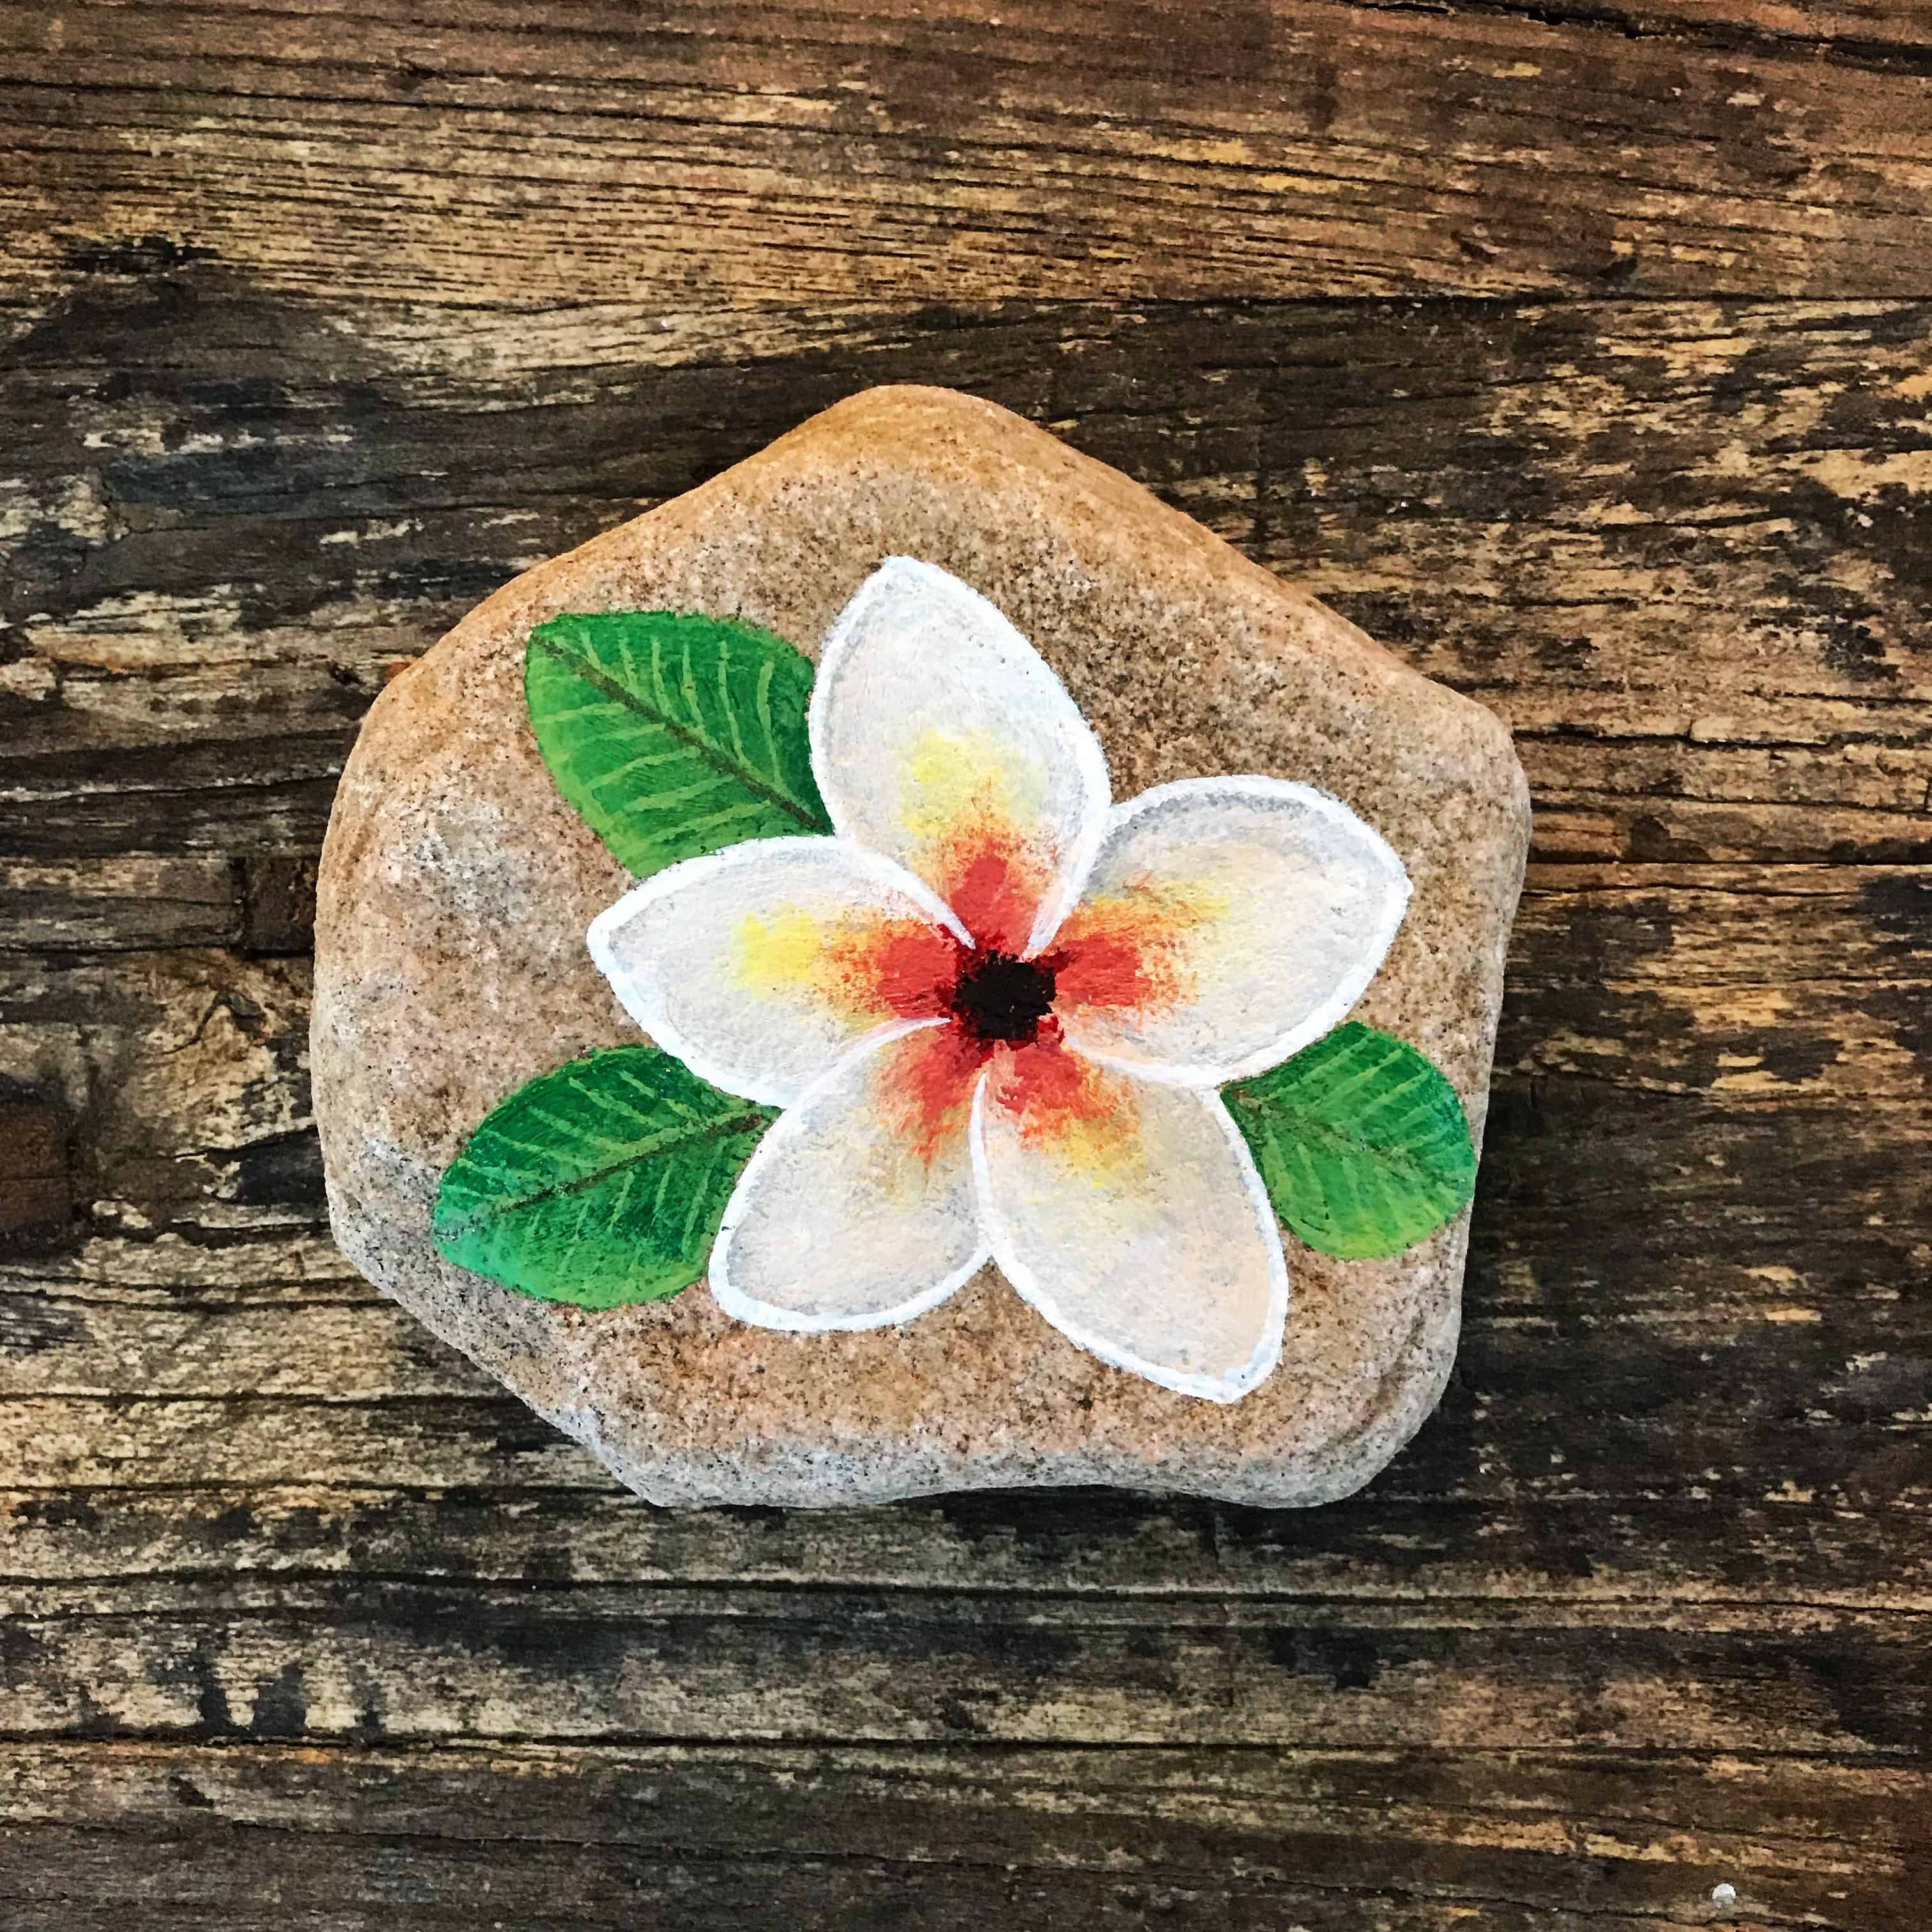
If you are looking for something a bit more involved for your painted rocks, you could try making pictures of animals. Woodland creatures like owls or foxes, or ocean animals like fish or turtles, are popular choices. Flowers are another lovely subject, allowing for all sorts of color combinations. Some people even try to make tiny galaxy scenes on their stones, using a mix of dark colors and speckles of white for stars, which is, you know, really cool.
You can also match your painted rocks to different times of the year or special events. Think about making pumpkins or ghosts for a fall holiday, or little hearts for a day that celebrates caring. Food items, like tiny M&M candies or slices of fruit, also make for very cute and colorful designs. The ideas are, basically, endless, and you can find many step-by-step guides online to help you along.
Making Your Painted Rocks Last
Once you've spent time putting your thoughts and colors onto a stone, you'll want to make sure your creation stays looking good. This means paying attention to how you put the color on and, perhaps even more importantly, how you protect it afterwards. Getting these steps right means your little stone artworks can bring joy for a good long while, whether they are inside or out.
Putting Color on Your Painted Rocks
When you are ready to put color on your painted rocks, remember that thin layers are often better than one thick one. This helps the paint stick better and dry more evenly. You can use regular brushes for larger areas and smaller ones for the finer parts of your picture. If you are using paint markers, they are pretty simple to use, just like drawing with a pen, as I was saying.
For certain effects, like making a smooth base color, you might need a couple of coats of paint. Just make sure each coat is completely dry before you add the next one. This prevents smudging and helps the colors stand out clearly. Some people even use stamps for parts of their designs, which can create really neat and consistent patterns on their painted rocks. This method is, quite frankly, a clever way to add detail without having to draw everything by hand.
What Happens When Your Painted Rocks Are Done?
After all the color has been put on and everything is completely dry, the next step for your painted rocks is to protect them. This is where the sealant comes in. If you are using a spray sealant, make sure you do it in a well-aired space, maybe even outside, and follow the directions on the can. Hold the can a little bit away from the stone and spray in light, even layers.
If you are using a brush-on sealant, apply it smoothly over the whole surface of your painted rocks. Just like with the paint, it's usually better to put on a couple of thin layers rather than one thick one. This helps create a good, strong protective coating that won't look cloudy or uneven. Once the sealant is fully dry, your little stone creation is ready for whatever you have planned for it, which is, you know, a pretty satisfying feeling.
Beyond Decoration - What Else Can Painted Rocks Be Used For?
While making pretty things for your garden or home is a perfectly good reason to make painted rocks, these little stone artworks can actually serve other, rather interesting purposes too. They can be used in ways that connect people, bring smiles, or even help with everyday things. It's about thinking outside the box for these humble stones.
For example, a really sweet idea is to use them as "kindness rocks." You make a colorful stone, perhaps with a nice message or a cheerful picture, and then you leave it somewhere for someone else to find. The idea is that the person who finds it gets a little moment of happiness, and they can either keep it or hide it again for someone else. This creates a sort of chain of good feelings, which is, you know, a very lovely thing.
Some people use their painted rocks to add personality and color to their outdoor areas. You can make little ladybugs to sit among your plants, or paint stones to look like different vegetables or fruits to mark where things are growing. Glowing stones, made with special glow-in-the-dark paint, can add a magical touch to your garden at night. They are, basically, a simple way to bring a bit of cheer to your green spaces.
There's also a story about using painted rocks in a work setting to show appreciation. A company, apparently, gave out stones with a letter "U" on them, meaning "You rock!" When someone saw a co-worker doing something great for a customer, they would give that person one of their stones. The people who collected the most stones got small prizes. This is, actually, a clever way to use these simple items to build good feelings and recognize effort.
You can even get quite playful with your painted rocks. Imagine making a long snake by painting many different sized stones black and then adding colorful patterns with paint markers. You would use a slightly bigger stone for the head and a smaller one for the tail to make it look more like a real snake. This kind of project is, in fact, a super fun way to use a whole bunch of stones and create something quite unique for your garden or play area.
So, as you can see, the journey with painted rocks can go in many directions. We've talked about finding your stones, getting your tools ready, finding ideas for what to put on them, and how to make sure your artwork lasts. We also looked at some fun and heartfelt ways these little pieces of art can be used, from brightening a garden to spreading a bit of kindness.
- Corte De Pelo Para Ni%C3%B1os
- Trump Security Clearance Suspension Perkins Coie
- John Vernon
- Modern Gents
- Did Taylor Win Any Amas
20 Best Painted Rock Ideas and Designs for 2021

25+ Creative Rock Painting Ideas - Easy Peasy and Fun
50 Rock Painting Ideas to Try On Your Own or With the Kiddos
